Philips Smart TV: Easy Guide to Antenna Setup
Setting up an antenna on your Philips Smart TV is crucial to enhancing your viewing experience, allowing you to access free-to-air channels with ease. This guide covers everything you need to know about the Philips Smart TV antenna setup, from the initial connection to fine-tuning for the best reception. Whether you’re a tech novice or a seasoned DIY enthusiast, this tutorial is designed to make the process straightforward and hassle-free.
In this guide, you will first discover the essential tools and materials required for the antenna setup. We will walk you through a detailed, step-by-step process to connect and configure the antenna on your Philips Smart TV, ensuring you don’t miss any important steps. Additionally, we will provide tips and troubleshooting advice for common issues that may arise during the setup. You’ll learn how to smoothly navigate the TV menu to adjust your settings and optimize your antenna reception, guaranteeing a seamless viewing experience.
The importance of the correct Philips Smart TV antenna setup cannot be overstated. A well-configured antenna setup will greatly enhance the quality and number of channels you receive. By following our guide, you will learn how to expertly position your antenna for the best signal reception and explore additional settings on your TV to achieve optimal performance.
By the end of this guide, not only will you have successfully completed the Philips Smart TV antenna setup, but you will also understand the benefits of a correctly positioned and configured antenna, thus revolutionizing your television watching experience.
Introduction to Philips Smart TV Antenna Setup
Setting up your Philips Smart TV antenna properly is crucial for unlocking a wide array of free over-the-air (OTA) channels. With the rise of cord-cutting and the increasing popularity of free broadcast options, ensuring a correct antenna configuration can significantly enhance your viewing experience. Whether you’re trying to catch your local news, enjoy live sports, or explore a vast selection of network television, a well-executed Philips Smart TV antenna setup can make all the difference.
In this guide, we’ll walk you through everything you need to know about setting up your antenna with your Philips Smart TV. You’ll learn the essential steps required to connect the antenna, how to navigate through the TV’s menu to configure antenna settings, and some key tips and troubleshooting advice to ensure a smooth setup process. By the end of this section, you’ll be well-equipped to perform the setup with confidence and enjoy a seamless TV experience.
Why is Proper Antenna Setup Important?
- Enhanced Channel Reception: A properly set up antenna helps capture more channels with clear and stable reception, allowing you to enjoy a variety of programming without interruption.
- Cost Savings: Accessing free OTA channels means you can enjoy high-quality content without the need for a costly cable subscription, leading to significant long-term savings.
- High-Definition Quality: Many OTA broadcasts offer HD quality, providing a superior viewing experience compared to standard definition cable channels.
- Access to Local Content: With a correctly positioned antenna, you can receive local news, weather updates, and community programming that might not be available through streaming services or cable.
What You Will Learn in This Guide:
- Tools and Materials Needed: Gather all necessary tools and materials before beginning the setup process.
- Step-by-Step Instructions: Follow detailed, easy-to-understand steps to properly connect and configure your antenna with your Philips Smart TV.
- Navigating the TV Menu: Learn how to effectively use the Philips Smart TV interface to finalize your antenna setup.
- Troubleshooting Tips: Tips and solutions to common issues that may arise during the setup.
- Optimizing Reception: Positioning your antenna and exploring additional TV settings to ensure the best possible signal quality and channel performance.
Having a clear understanding of each of these key areas will ensure that your Philips Smart TV antenna setup is both efficient and effective. By taking the time to set up your antenna correctly, you’ll enjoy a myriad of benefits, including more channels, better picture quality, and an overall enhanced viewing experience without the burden of cable fees. Continue reading as we dive into each step of the process in detail to help you achieve the optimal antenna setup for your Philips Smart TV.
Remember, proper setup doesn’t just stop at connecting your antenna. We’ll also provide insights on how to optimize and fine-tune your reception to get the most out of your Philips Smart TV. So, let’s get started on this journey towards better, cost-effective TV entertainment by mastering the Philips Smart TV antenna setup.
For more technical guidance and support, you can also check out the Philips Support page that provides additional resources and FAQs.
Stay tuned for the following sections where we will break down each step of the setup process and ensure you have all the tools and knowledge required to perfect your antenna setup with your Philips Smart TV.
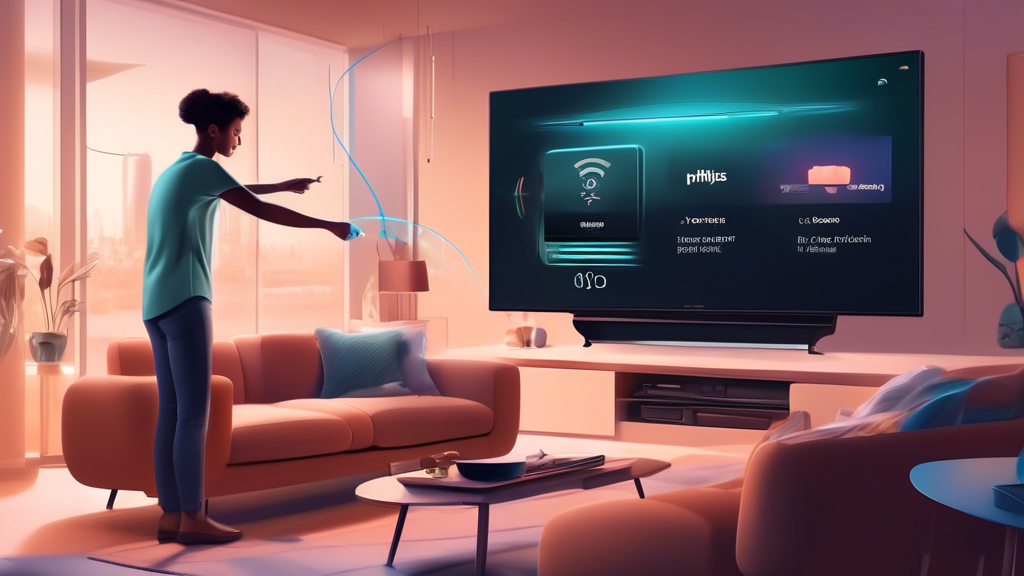
Step-by-Step Guide to Setting Up Your Antenna on a Philips Smart TV

Tools and Materials Needed for the Antenna Setup
- Philips Smart TV
- HDTV antenna
- Coaxial cable
- Remote control
- Power source
- Mounting hardware (optional, for wall-mounting the TV or antenna)
Detailed Steps to Connect the Antenna to the Philips Smart TV
- Locate the Antenna Input on your Philips Smart TV, usually labeled as ANT or RF In.
- Connect one end of the coaxial cable to your HDTV antenna.
- Attach the other end of the coaxial cable to the ANT input on your Philips Smart TV.
- Ensure that the connections are secure to avoid any signal loss.
- If you’re mounting the antenna, follow the manufacturer’s instructions for optimal placement.
- Power on your Philips Smart TV and press the Home button on your remote control.
How to Navigate the TV Menu to Configure the Antenna Settings
- Using your remote, navigate to the “Settings” menu.
- Select “Broadcasting” or “Channel Setup” from the menu options.
- Choose “Auto Program” or “Auto Scan” to let your Philips Smart TV search for available channels.
- Select the option to scan for channels through the “Antenna” setting (make sure the antenna is selected and not cable).
- Wait for the TV to complete the scan. This process may take a few minutes.
- Once the scan is complete, your Philips Smart TV will display all the available channels received via the antenna.
Tips and Troubleshooting Common Issues During the Antenna Setup Process
- Weak Signal: If certain channels are not coming through clearly, try repositioning your antenna. Higher placement or near a window often yields better results.
- No Channels Found: Ensure all connections are tight and the correct input/source is selected. Re-scan if necessary.
- Interference: Electronic devices and physical obstructions can interfere with signal reception. Keep your antenna away from such sources.
- Broken Cables: Faulty coaxial cables can result in no signal. Check and replace the cable if needed.
Remember, a successful Philips Smart TV antenna setup can greatly enhance your viewing experience by providing access to a broad range of free-to-air channels. For more in-depth troubleshooting tips and detailed instructions, you can visit the official Philips Support Page.
Optimizing Your Philips Smart TV Antenna Reception
How to Position Your Antenna for the Best Signal Reception
Achieving optimal signal reception with your Philips Smart TV antenna setup primarily depends on the correct positioning of your antenna. Follow these tips to enhance your reception:
- Elevate the Antenna: Place your antenna as high as possible, which might mean mounting it on the wall or near a window. Elevation helps to reduce obstructions and interference.
- Face the Nearest Broadcast Towers: Use online resources like FCC DTV Reception Maps to locate the nearest broadcast towers. Point the antenna in the direction of these towers for better signal reception.
- Minimize Obstacles: Ensure there are minimal physical barriers such as thick walls or furniture that might obstruct the signal path. Clear as much space around the antenna as possible.
- Avoid Electronic Interference: Keep the antenna away from other electronic devices that could cause interference, such as WiFi routers, cordless phones, or microwaves.
Exploring Additional Settings and Options on Your Philips Smart TV for Optimal Performance
Your Philips Smart TV provides various settings that can help fine-tune reception. Here are some configurations to explore:
- Rescan for Channels: After positioning your antenna, navigate to your TV’s menu and perform a channel scan. This ensures that you capture the maximum number of available channels.
- Manual Tuning: In some cases, manual tuning can help. Access the manual tuning option through your TV’s settings menu and fine-tune specific channels to improve weak signals.
- Signal Strength Indicator: Check your TV’s menu for a signal strength indicator. This tool can help you adjust the antenna’s positioning for the best signal strength.
- Firmware Updates: Ensure your TV’s firmware is up to date. Manufacturers often release updates that can improve performance and compatibility with various types of antennas.
Benefits of a Successful Antenna Setup and How It Enhances the Viewing Experience
A proficient Philips Smart TV antenna setup can significantly enhance your viewing experience. Here’s how:
- Increased Channel Availability: A well-placed antenna ensures maximum reception of available broadcast channels, giving you more content to watch without any subscription fees.
- Improved Picture Quality: Optimal signal reception reduces pixelation and provides a clearer, more enjoyable viewing experience.
- Cost Savings: With a successful antenna setup, you can receive free over-the-air broadcasts, potentially reducing your dependence on costly cable or satellite subscriptions.
- Access to Local Programming: Antennas can pick up local news, sports, and weather channels, which are often not available through streaming services.
Optimizing your Philips Smart TV antenna setup doesn’t just improve your viewing experience; it also maximizes the capabilities of your Smart TV, making sure you get the most out of your entertainment system. By following these steps and exploring additional settings, you’ll ensure your TV receives the best possible signal, providing you with a wider selection of high-quality channels and content.
In conclusion, setting up an antenna on your Philips Smart TV is an essential process for ensuring you receive the best possible signal and channel selection. By following the detailed step-by-step guide provided, you will find that the Philips Smart TV antenna setup is straightforward and manageable, even if you are not tech-savvy. From gathering the necessary tools and materials to carefully connecting the antenna and navigating your TV’s menu, each stage is designed to help you achieve a seamless setup process.
Additionally, optimizing your antenna’s position and tweaking your TV settings can significantly improve your signal strength and overall viewing experience. The tips provided will assist in overcoming common set-up challenges, allowing you to enjoy a vast array of free-to-air channels with clear reception and minimal interference.
The efforts you invest in a proper Philips Smart TV antenna setup will undoubtedly pay off, enriching your entertainment options and ensuring optimal performance of your TV. Do not hesitate to revisit the guide should you encounter any issues, and remember that a well-positioned antenna and correctly configured settings are the keys to unlocking the full potential of your Philips Smart TV. By keeping this guide handy, you can ensure that your antenna setup process is smooth and efficient, leading to an enhanced, enjoyable TV viewing experience.