How to Configure Smart DNS Service on Google TV?
How to Configure Smart DNS Service on Google TV?
 There are many smart DNS service providers operating their business in the marketplace; these providers help the people to watch the regionally restricted contents from all over the globe with the help of their proxy servers.
It is very easy to get the service of these smart DNS service providers by registering for a basic paid smart DNS service. The monthly charges of these services are very affordable and available in multiple plans.
So, you can have access to the regionally blocked contents by taking certain steps as mentioned below.
- Get all your internet connection up from your desired local Internet Service Providers (ISP).
- Connect your Google TV with the internet through desired internet connection.
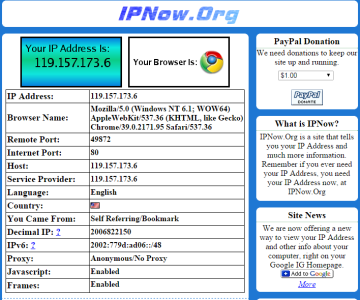
- Find out and write down the IP of your internet connecting device by visiting http://www.ipnow.org/
- Write down the IP address on note book. You can also find out the IP address by running “ipconfig” command on the command prompt via your computer connected to the internet. The default gateway is the desired IP of your router or internet connecting device.
- Open the browser and search for the best plan for smart DNS service.
- Register your subscriptions with the desired smart DNS service provider.
- Write down the IP addresses of proxy DNS servers that are provided by the service provider at the time of registration.
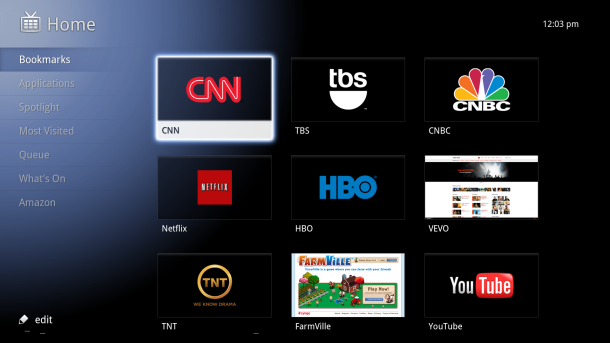
After having got the IP address of your router and smart DNS servers, you are ready to configure the Google TV. To configure the Google TV for smart DNS service, take the following procedure.
- Go to the All Apps option on the menu. The list of all applications installed on the Google TV appears.
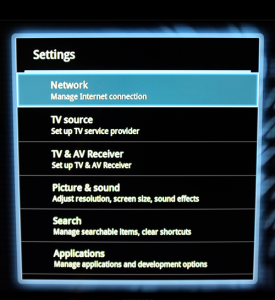
- Select the Settings icon from the list of applications. The details of different settings appear.
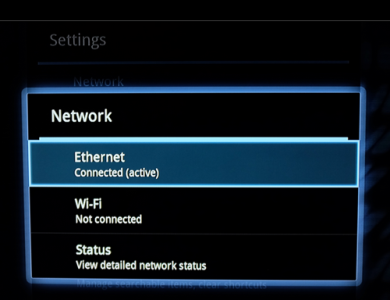
- Choose the Network The list of your connections – Wi-Fi and Ethernet – appears.
- Select the desired active connection either Wi-Fi or Ethernet. In our case, it is Ethernet connection. The more details of your active connection appear in the next window.
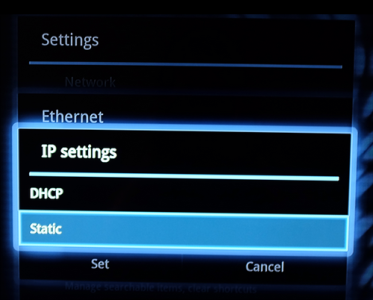
- Select the IP Settings option on the details of the desired network page. Two more options – DHCP or Static – appear.
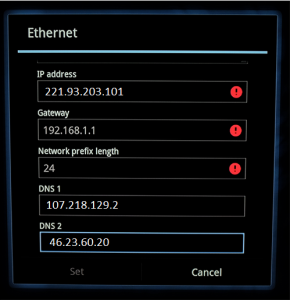
- Click the Static The Ethernet setting details with multiple editable fields appear.
- You need enter the IP addresses of the Proxy DNS servers that you obtained from the service providers in the DNS1 and DNS2 fields respectively
- Enter 24 in the Network Prefix Length
- Click the Set the button on the page to let the inserted data configured on the Google TV.
- You need to restart the Google TV to allow the configurations take effect.
- You are done with the smart DNS configuration on your Google TV, and you can enjoy the restricted content now.
Important Notes:
- You need to update your IP address in the database of your smart DNS service providers, if the IP of your router has changed.
- Always, keep the network prefix length to 24.
Other Websites with Tutorials about how to Setup SmartDNS on Google TV:
- http://support.smartdnsproxy.com/customer/portal/articles/1352120-google-tv
- http://support.purevpn.com/customer/portal/articles/1754198-how-to-setup-smartdns-on-google-tv-
- https://support.unlocator.com/customer/portal/articles/1094604-how-to-setup-google-tv
- http://www.elephantvpn.com/de/content/38-setup-smart-dns-on-google-tv

